

Common Cleaning Mistakes During Office Renovations
Analyse or Listen to This Article
Open this article in your preferred AI assistant, or listen with the built-in voice player.
Analyse with AI
Listen to Article
Player Settings
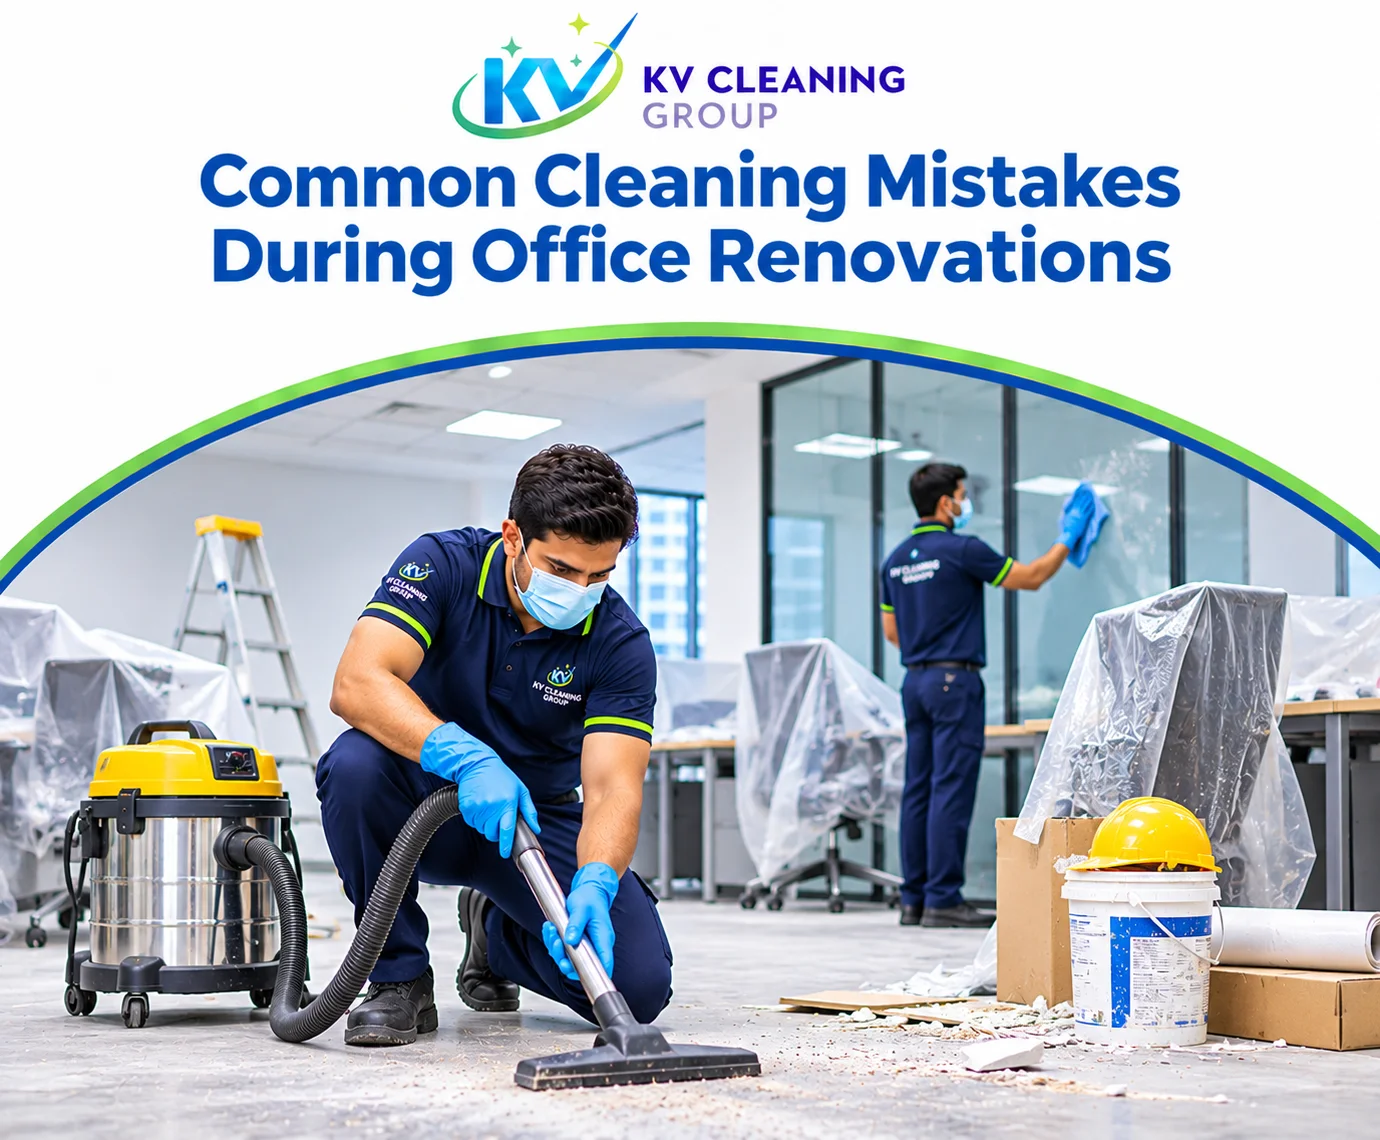
Office renovations create a particular kind of mess. Fine dust settles everywhere, trades move through the space, and new finishes are vulnerable before handover. Cleaning during and after a fitout is not the same as routine office cleaning. These are the mistakes that cause rework, damage and delays.
Why Renovation Cleaning Is Different
Construction dust is finer and more abrasive than everyday soil. It travels through the air, settles on ceilings and inside cabinets, and re-contaminates areas that have already been cleaned. Wet cleaning too early turns dust into mud that stains and scratches. Timing and sequence matter as much as effort.
Common Mistakes
1. Cleaning too early
Cleaning before trades have finished means the area is contaminated again. Plan a rough clean during works and a detailed clean after completion.
2. No dust containment
Without plastic sheeting, negative air pressure or sealed doorways, dust spreads to occupied areas and into ventilation. Containment protects both the renovation zone and the rest of the building.
3. Wet cleaning before dust removal
Water plus construction dust creates a paste that is hard to remove and can scratch surfaces. Remove dry dust first with HEPA vacuums, then clean with controlled moisture.
4. Damaging new finishes
New paint, glass, stone and joinery are easily marked. Use appropriate products and avoid abrasive pads or harsh solvents.
5. Ignoring ventilation and ducts
Dust collects in vents, diffusers and accessible ductwork. If these are not cleaned, the building will keep circulating dust after handover.
6. Not protecting surfaces during works
Failure to cover floors, glass and joinery leads to scratches and adhesive residue that are expensive to fix.
7. Poor waste segregation
Construction waste, packaging and hazardous materials need correct separation and disposal. Mixing them creates safety issues and extra handling.
8. Skipping safety controls
Renovation sites involve dust masks, safe access and electrical hazards. Cleaning staff need the right PPE and clear exclusion zones.
9. No final detail clean
Handover quality depends on the details: skirtings, frames, glass, light fittings, handles and inside cabinets.
10. Poor coordination with trades
Cleaning must be scheduled around painting, electrical and joinery work. A clear sequence prevents repeat cleaning and damage.
A Practical Renovation Cleaning Sequence
Protect surfaces at the start. Contain dust during works and remove debris regularly. After trades finish, HEPA vacuum all surfaces, clean ceilings and high areas, then work down through walls, fixtures and joinery. Detail glass and frames, clean vents, and finish with floors. Inspect under lighting before handover.
Professional Post-Construction Cleaning
A professional handover clean saves time and protects the investment. Commercial Cleaning Sydney teams bring HEPA equipment, safe access and suitable chemistry for new finishes. Window Cleaning Sydney handles new glass and frames, while pressure washing suits external areas. Use the inspection checklist for a room-by-room handover audit, and get a quote before the project starts.
Conclusion
Renovation cleaning is a staged process. Control dust, protect finishes, clean in the right order and coordinate with trades. That discipline protects both the schedule and the quality of the finished office.
A clean handover is easier when Commercial Cleaning Sydney coordinates Window Cleaning Sydney and Pressure Washing Sydney with the trades program.
Get Free Quote
Recent Posts

Frequently Asked Questions
A detailed clean after building or renovation work, focused on removing construction dust, adhesive, paint marks and debris before handover.
HEPA vacuums capture fine dust that standard vacuums recirculate. Removing it dry first prevents mud, scratches and ongoing air quality problems.
After all trades have completed and before furniture is installed, with a final inspection under good lighting.
It requires different equipment, safety controls and finish knowledge. A specialist team is usually safer and faster.
Use suitable protective coverings, avoid dragging equipment and clean spills promptly with products compatible with the new finish.